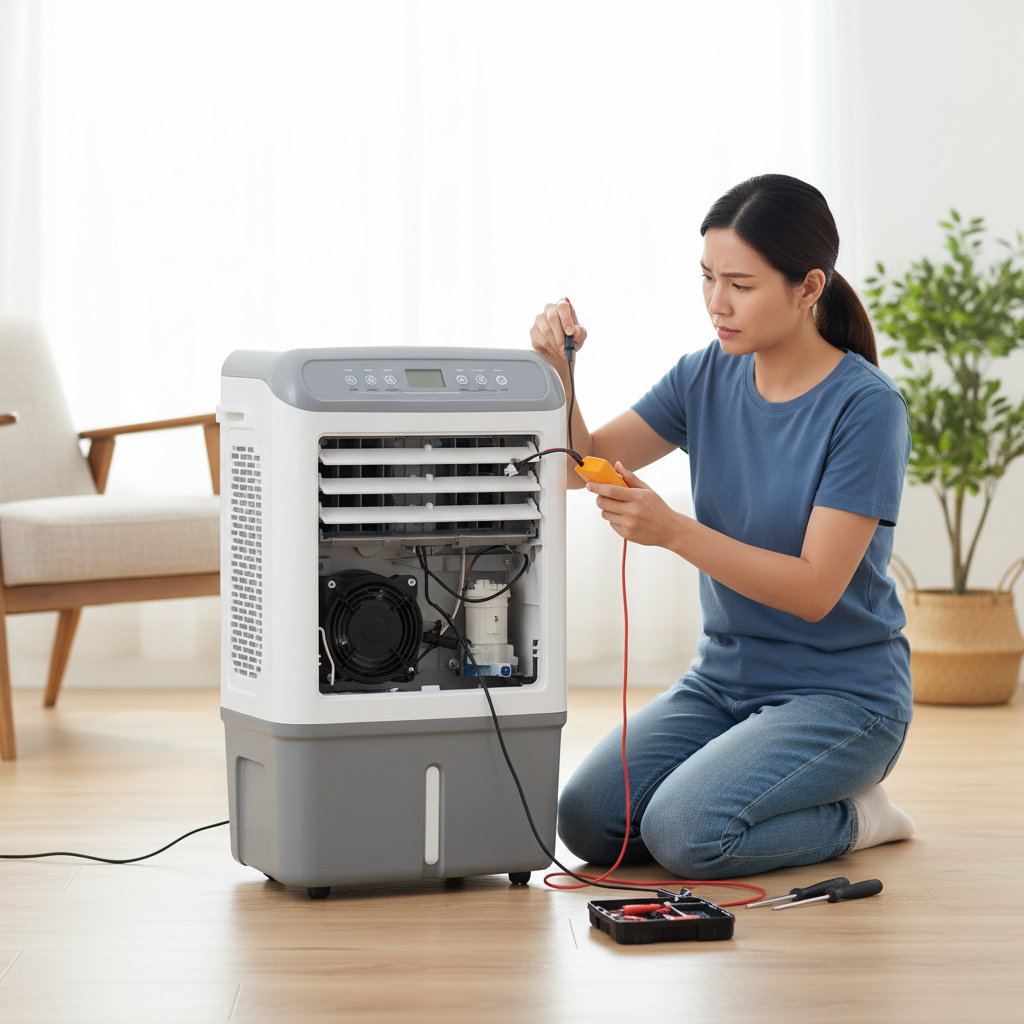
Air coolers are a fantastic way to beat the heat, especially in dry climates, offering an energy-efficient alternative to traditional air conditioning. But like any appliance, they need a little TLC to perform at their best. If your air cooler isn’t delivering the crisp, cool breeze it used to, or if you’ve noticed a peculiar musty smell, chances are your honeycomb pads are overdue for a cleaning. These crucial components are the heart of your cooler’s evaporative process, and keeping them spotless is key to maximizing efficiency, improving air quality, and extending the life of your unit. With a few simple tools and a bit of your time, you can easily restore your air cooler’s honeycomb pads to their prime right at home.
Understanding Your Air Cooler’s Honeycomb Pads
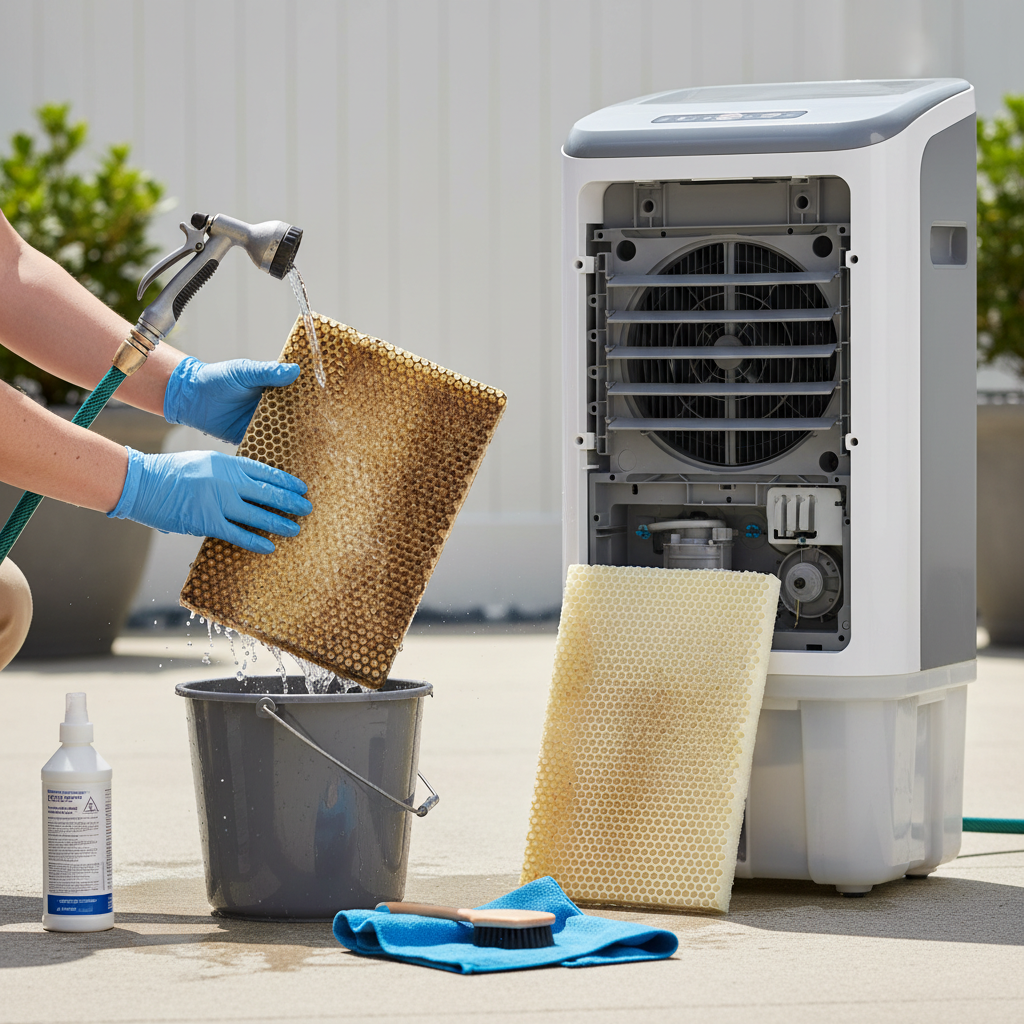
Honeycomb pads, also known as evaporative cooling pads or cool cell pads, are engineered with an intricate, multi-layered structure that resembles a beehive. Their design creates a large surface area, allowing water to evaporate efficiently as warm air passes through, thus cooling the air before it circulates into your space. They are often made from treated cellulose paper, which is delicate and requires careful handling.
Regular cleaning is not just about aesthetics; it’s crucial for several reasons. Over time, these pads accumulate dust, dirt, mineral deposits from hard water, and even mold or mildew. This buildup restricts airflow, significantly reducing your cooler’s efficiency—it can even cut performance by up to 40%. A clogged pad forces your cooler to work harder, leading to higher energy consumption and diminished cooling power. More importantly, dirty pads can become breeding grounds for bacteria and mold, releasing unpleasant odors and potentially impacting indoor air quality and respiratory health. Signs that your honeycomb pads are crying out for a clean include weaker airflow, a noticeable musty smell, visible dirt or mineral deposits, or an unexplained increase in water consumption.
DIY Cleaning: What You’ll Need
Tackling the task of cleaning your air cooler’s honeycomb pads yourself is straightforward and requires only a few common household items. Before you begin, gather these essentials to ensure a smooth and effective cleaning process:
- Protective Gloves: To keep your hands clean and safe from cleaning solutions.
- Soft Brush or Sponge: Ideal for gently scrubbing away dirt and debris without damaging the delicate pad material. Avoid stiff brushes.
- Two Large Buckets or a Utility Tub: One for soaking the pads and one for rinsing.
- Mild Cleaning Solution:
- White Vinegar: An excellent natural disinfectant and mineral deposit remover. A 50-50 ratio with water is highly effective.
- Mild Detergent: A small amount of dish soap mixed with water can also work well for general dirt. Avoid harsh chemicals like bleach, which can damage the pads.
- Access to Running Water: A hose or a faucet with a gentle stream.
- Soft Cloth: For wiping down other parts of the cooler and the water tank.
- Screwdriver (optional): Some cooler models may require this for panel removal.
Safety Precautions: Always ensure your air cooler is unplugged from the power outlet before you begin any cleaning or maintenance. This prevents accidental startup and reduces the risk of electrical shock. Work in a well-ventilated area, especially when using cleaning solutions, and handle the honeycomb pads with care to avoid bending or tearing them.
Step-by-Step Guide: How to Clean Honeycomb Pads on Your Air Cooler
Cleaning your air cooler’s honeycomb pads is a methodical process that, when followed correctly, will rejuvenate your appliance and enhance your indoor air quality.
Step 1: Disconnect and Disassemble Safely
|
Our Picks for the Best Air cooler in 2026
As an Amazon Associate I earn from qualifying purchases.
|
||
| Num | Product | Action |
|---|---|---|
| 1 | Portable Air Conditioners, Swamp Cooler Portable AC Unit for Room, Windowless Cooling Fan That Blow Cold Air w/Remote 5L Tank 12 Speeds 9H Timer, Evaporative Air Cooler for Bedroom Garage (White) |

|
| 2 | 3-in-1 Portable Evaporative Air Cooler - 2000 CFM Swamp Cooler with 6.6-Gal Dual Tank & 4 Ice Packs, Remote Control, 12H Timer, Oscillating Cooling Fan for Large Room, Office, Mother's Day |
|
| 3 | Portable Air Conditioners, 3-IN-1 Evaporative Air Cooler,Cooling Fans that Blow Cold Air with 60° Oscillation,9H Timer,3 Modes & 12 Speeds, 8 Ice Packs, Windowless Portable AC for Room,Bedroom,Office |
|
| 4 | DREO Evaporative Air Swamp Cooler, 43" Cooling Fans that Blow Cold Air 2026 Upgraded, 80° Oscillating Floor Fan for Bedroom, Easy Cleaning, APP Control, Ice Packs, 4 Speeds & 4 Modes, 12H Timer, White |
|
| 5 | Arctic Air Pure Chill 2.0 Evaporative Air Cooler by Ontel - Powerful, Quiet, Lightweight and Portable Space Cooler with Hydro-Chill Technology For Bedroom, Office, Living Room & More,Blue |
|
| 6 | DREO Tower Fan for Bedroom, 2026 Upgraded DC Motor, 28ft/s High Velocity, 20dB Ultra Quiet Standing Fan, 8 Speeds 4 Modes, 90° Oscillating Bladeless Fan for Indoors, Floor Fans with Remote, Black |
|
| 7 | Midea 5,000 BTU EasyCool Small Window Air Conditioner - Cool up to 150 Sq. Ft. with Easy-to-Use Mechanical Controls and Reusable Filter, Perfect for Small Bedroom, Living Room, Home Office |
|
| 8 | Evaporative Air Cooler - Swamp Cooler with 3L Water Tank, 3 Modes & 3 Speeds, Remote Control, 12H Timer, 50° Oscillating Portable Bladeless Cooling Tower Fan For Room Bedroom Office Mother's Day |
|
| 9 | DREO Tower Fan for Bedroom, 43" Cooling Fans That Blow Cold Air 2026 Upgraded, Evaporative Air Cooler, Quiet 80° Oscillating Floor Fan, Easy Cleaning, APP Control, 4 Modes & 4 Speeds, 12H Timer, Black |
|
| 10 | LEVOIT Tower Fan for Bedroom, 90° Oscillating Standing Fan with 28dB Quiet for Sleep, 25ft/s Velocity, 12H Timer, 5 Speeds 4 Modes, Remoter, Bladeless Room Fan for Home, Office, Indoor, 36 inch, White |
|
Begin by unplugging your air cooler from the electrical outlet to eliminate any risk of electrical shock. Next, locate and remove the back panel of your air cooler. This usually involves unlatching clips or unscrewing a few screws. Once the panel is off, carefully slide out the honeycomb pads. Most coolers have multiple pads; handle each one gently to avoid bending or tearing the delicate cellulose material.
Step 2: Initial Rinse and Dust Removal
Take the removed honeycomb pads to an area with running water, such as a utility sink or an outdoor hose. Gently rinse them under a steady, low-pressure stream of water. This initial rinse helps to dislodge loose dust, dirt, and any surface debris without causing damage. You can use a soft brush to lightly sweep away any stubborn loose particles during this stage.
Step 3: Soaking for Deep Clean
For a more thorough clean, especially if you have mineral deposits or a persistent musty odor, a good soak is essential. Fill a large bucket or tub with a cleaning solution. A 50-50 mixture of white vinegar and water is highly recommended for its disinfectant properties and ability to break down mineral buildup. Alternatively, you can use a small amount of mild liquid detergent mixed with water. Submerge the honeycomb pads completely in the solution, ensuring they are fully saturated. Allow them to soak for 15 to 30 minutes, depending on the level of dirt and grime. This soaking time allows the solution to penetrate and loosen embedded dirt and kill bacteria or mold spores.
Step 4: Scrubbing and Rinsing Thoroughly
After soaking, gently scrub the pads with a soft brush or sponge. Pay particular attention to areas with visible dirt, stains, or mineral deposits. Remember to be gentle; aggressive scrubbing can damage the delicate honeycomb structure. Once you’ve scrubbed all sides, rinse the pads thoroughly under running water. Continue rinsing until all traces of the cleaning solution and loosened debris are gone, and the water runs clear. This ensures no residue is left behind that could affect air quality or encourage new growth of microorganisms.
Step 5: Drying the Honeycomb Pads
One of the most crucial steps is to ensure the pads are completely dry before reinstallation. Place the clean, rinsed pads in a shaded, well-ventilated area to air dry naturally. Avoid direct sunlight, as intense heat can warp or damage the pads. Depending on the humidity and temperature, drying can take several hours. You can gently use a small blower or a household hair dryer on a cool or low setting to speed up the process once the pads are mostly dry, ensuring even air circulation. Do not reinstall damp pads, as this can lead to immediate mold and mildew growth.
Step 6: Cleaning the Water Tank and Other Components
While your honeycomb pads are drying, take the opportunity to clean the rest of your air cooler. Empty any remaining water from the tank. Wipe down the interior of the water tank with a soft cloth and warm, soapy water to remove any moldy residue or mineral buildup. Rinse the tank thoroughly with clean water. You can also wipe down the fan blades, exterior casing, and any other accessible components with a damp cloth. A clean water tank is vital, as dust and dirt in the tank can quickly transfer back to your newly cleaned pads.
Maintaining Your Air Cooler for Longevity
Consistent maintenance is key to prolonging the life of your air cooler and ensuring it always provides fresh, cool air. Beyond the deep clean of the honeycomb pads, adopt a few simple habits:
- Regular Simple Cleaning: For optimal performance, aim to clean your honeycomb pads weekly or bi-weekly, especially during peak usage. A quick rinse under running water can often suffice for regular maintenance, preventing significant buildup.
- When to Replace Honeycomb Pads: While regular cleaning extends their life, honeycomb pads are not permanent. They typically last between three to five years, but this can vary based on water quality and usage. Signs that they need replacing include significant physical damage, a persistent foul odor even after cleaning, or a noticeable decrease in cooling efficiency despite regular maintenance.
- Preventing Mold and Mildew Growth: Always use clean water in your air cooler. Drain the water tank completely when the cooler is not in use for extended periods, and allow the tank and pads to air dry. Consider adding a few drops of white vinegar to the water tank occasionally to inhibit bacterial and fungal growth.
Troubleshooting Common Air Cooler Pad Issues
Even with regular cleaning, you might encounter some common issues.
- Dealing with Stubborn Mineral Deposits: If a vinegar soak doesn’t fully remove hard water stains, you can try a commercial descaling solution specifically designed for appliances, following the product instructions carefully. Always rinse thoroughly afterward.
- Addressing Persistent Odors: A lingering musty smell after cleaning might indicate deeply embedded mold or bacterial growth. If this happens, a more concentrated vinegar soak (e.g., undiluted white vinegar for a short period) or even pad replacement might be necessary. Ensure proper drying and ventilation of the room.
- When to Seek Professional Help: While most cleaning and minor maintenance can be DIY, if you notice electrical issues, unusual noises, significant water leaks, or if the cooler simply isn’t working despite your best efforts, it’s time to consult a qualified technician.
“Regular cleaning of your air cooler’s honeycomb pads isn’t just about hygiene; it directly impacts the air quality in your home and the efficiency of the unit. Neglecting them can lead to decreased cooling, increased energy consumption, and even health issues due to mold growth.” – Dr. Emily R. Chen, Environmental Health Specialist
Conclusion
Keeping your air cooler’s honeycomb pads clean is a simple yet vital task that directly impacts the comfort and health of your indoor environment. By following these DIY steps, you’re not just restoring your cooler’s efficiency; you’re also ensuring that the air you breathe is fresh and free from allergens and unpleasant odors. Regular maintenance is a small investment of time that pays off significantly in extending your appliance’s lifespan, saving energy, and consistently delivering a powerful, refreshing breeze. So, roll up your sleeves and give your air cooler the care it deserves – your lungs, your wallet, and your comfort will thank you. What steps will you take this week to ensure your air cooler is performing at its peak?
Frequently Asked Questions
How often should I clean my air cooler’s honeycomb pads?
For optimal performance and hygiene, it’s advisable to clean your air cooler’s honeycomb pads at least once a week during peak usage. In areas with high dust or hard water, more frequent cleaning, such as bi-weekly, might be necessary to prevent buildup and maintain efficiency.
Can I use bleach to clean air cooler pads?
No, it is strongly recommended to avoid using bleach or other harsh chemical cleaners on your honeycomb pads. These chemicals can damage the delicate cellulose material of the pads, reduce their effectiveness, and potentially release harmful fumes into the air when the cooler is operating. Stick to mild solutions like white vinegar or a gentle detergent.
What are the signs that my honeycomb pads need replacement?
Key indicators that your honeycomb pads may need replacement include visible physical damage (tears, crumbling), a persistent foul or musty odor even after thorough cleaning, or a noticeable and continuous drop in cooling efficiency despite regular maintenance and a clean water tank.
Why is drying the pads completely important?
Drying the pads completely before reinstalling them is crucial to prevent the growth of mold, mildew, and bacteria. Any residual moisture in a dark, enclosed environment like an air cooler creates an ideal breeding ground for these microorganisms, leading to unpleasant odors and potentially harmful air quality.
Can I put honeycomb pads in a dishwasher?
No, you should not put honeycomb pads in a dishwasher. Dishwashers use high-pressure water jets and high temperatures that can easily damage the delicate, treated cellulose paper structure of the pads. Manual cleaning with a gentle rinse, soak, and light scrub is the recommended method.