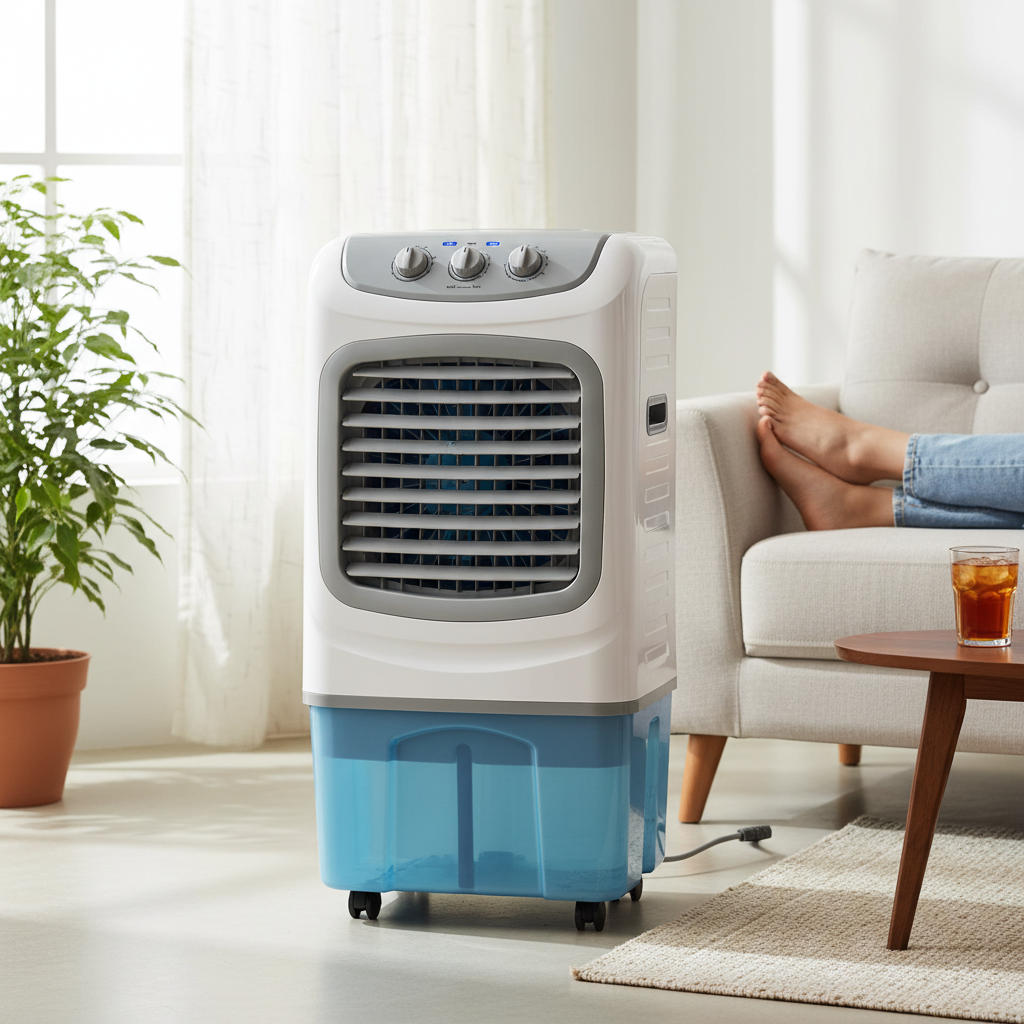
Has your trusty air cooler seen better days, marred by the tell-tale signs of rust? Don’t let a weathered exterior diminish its cooling power or tempt you into an unnecessary replacement. With a weekend and the right approach, you can transform your rusted metal body air cooler into a refreshed, functional appliance that looks as good as new. This comprehensive DIY guide will walk you through every step, from preparing the surface to applying the perfect finish, ensuring your air cooler stands up to the elements for seasons to come.
Understanding Rust on Air Coolers
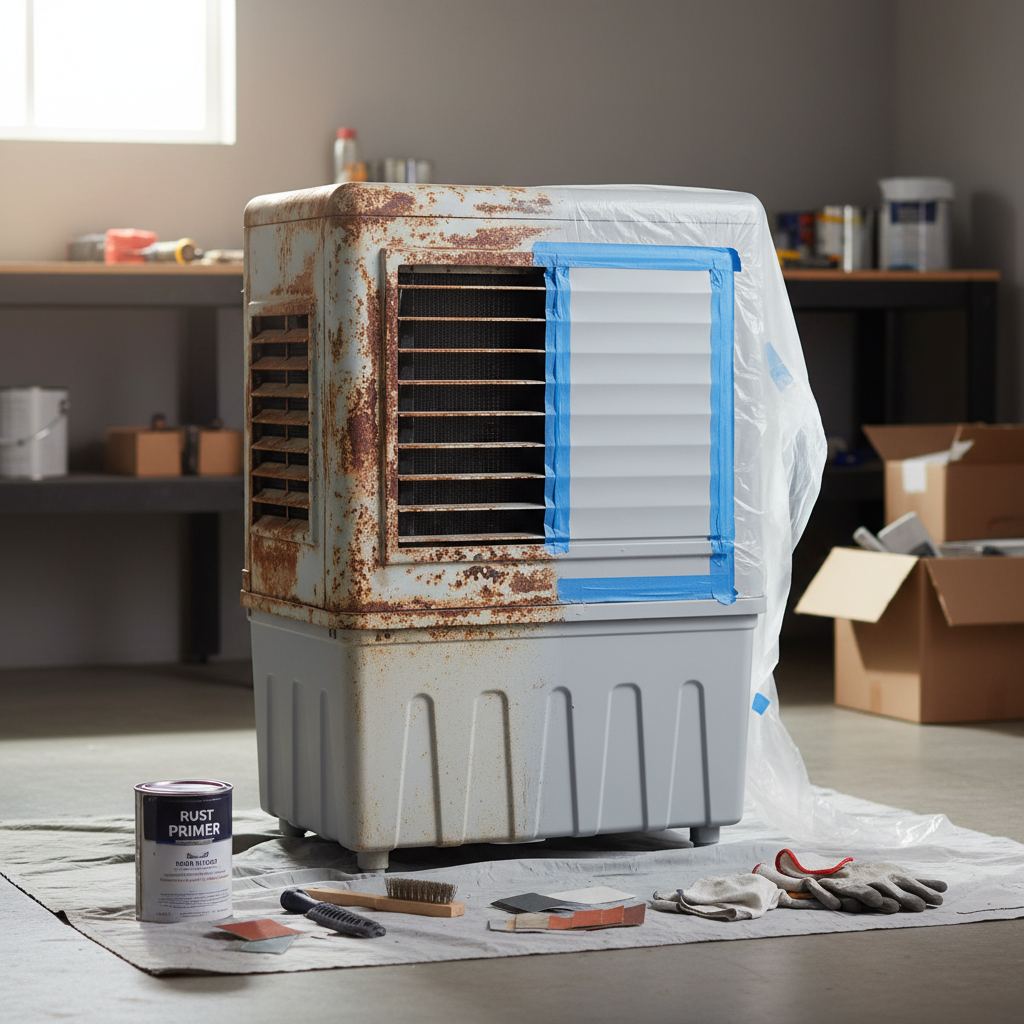
Air coolers, especially those used outdoors or in humid environments, are particularly susceptible to rust. Constant exposure to moisture, combined with oxygen and the metal body’s iron content, creates the perfect conditions for oxidation. This process forms the reddish-brown flaky substance we know as rust, which can not only be an eyesore but also compromise the structural integrity of the cooler over time. Recognizing when your cooler is a candidate for a repaint versus needing a full replacement is key. If the rust is primarily superficial, appearing as a surface discoloration or light flaking, a repaint can be highly effective. However, if you notice deep pitting, holes, or significant structural weakening where metal has been eaten away, it might be time to consider replacing the unit, as paint alone cannot restore severely degraded metal.
Gather Your Essential Tools and Materials
Before you begin your DIY painting project, assembling all the necessary tools and materials will ensure a smooth and efficient process. Safety should always be your top priority, so start by gathering protective gear.
Safety Gear:
- Gloves: Protect your hands from rust, chemicals, and paint.
- Eye Protection: Safety glasses or goggles are crucial to shield your eyes from debris and paint splatter.
- Respirator or Dust Mask: Especially important when sanding or spray painting to prevent inhaling dust and paint fumes.
- Work Clothes: Old clothes you don’t mind getting paint on.
Cleaning and Rust Removal Supplies:
- Wire Brush or Steel Wool: For scrubbing off loose rust and old paint.
- Scraper or Putty Knife: To remove larger flakes of rust or peeling paint.
- Sandpaper (various grits): Start with a coarser grit (e.g., 80-120) for stubborn rust, then move to a finer grit (e.g., 220-320) for smoothing the surface. A sanding block can also be helpful.
- Degreaser or Mild Detergent: To clean off dirt, grease, and grime.
- Clean Cloths or Rags: For wiping down surfaces.
- Rust Remover Gel (Optional): Products like Evapo-Rust Gel can be effective for deeply corroded areas without extensive scrubbing.
Painting Supplies:
- Painter’s Tape: To mask off areas you don’t want to paint, such as controls, vents, or internal components.
- Drop Cloths or Cardboard: To protect your work area from paint drips and overspray.
- Rust-Inhibiting or Rust-Converting Primer: Essential for rusted metal. These primers either convert rust into a stable, paintable surface or create a barrier to prevent future corrosion. Brands like Rust-Oleum offer good options.
- Exterior Metal Paint: Choose a durable, weather-resistant paint suitable for outdoor metal. Oil-based (alkyd) paints are often recommended for their toughness. Many direct-to-metal paints or all-in-one paint-and-primer products are available. Consider spray paint for an even finish and ease of application.
- Clear Protective Topcoat (Optional): A clear sealant can add an extra layer of durability and enhance the finish.
- Rubberized Coating (Optional, for water pan): If the water pan has developed leaks or significant corrosion, a rubberized sealant can restore its integrity.
Application Tools:
- Spray Cans: Often the easiest way to achieve a smooth, even finish on larger surfaces like an air cooler body.
- Brushes: For smaller details or areas that are hard to reach with spray paint.
- Rollers: For larger, flat surfaces if not using spray paint.
Step-by-Step DIY Guide to Painting Your Rusted Air Cooler
Ready to give your air cooler a new lease on life? Follow these steps carefully for a professional-looking, long-lasting finish.
1. Preparation is Key: The Foundation for Success
Proper preparation is the most critical step, determining the longevity and appearance of your paint job. Skimping here will lead to peeling paint and recurring rust.
- Disassemble (If Necessary): Carefully remove any detachable parts like the fan, motor, water pump, and cooling pads. This allows access to all surfaces and prevents accidental paint damage to internal components.
- Clean the Surface: Begin by washing the entire exterior of the air cooler with a degreaser or mild detergent and water. This removes dirt, grime, and oily residues that could prevent paint adhesion. Rinse thoroughly with clean water and allow it to dry completely.
- Remove Loose Rust and Peeling Paint: Using a wire brush, steel wool, or a scraper, aggressively remove all loose, flaky rust and any peeling or blistering old paint. You want to get down to a stable surface. For more extensive rust, a power sander with a coarse grit sandpaper can significantly speed up this process.
- Address Deep Rust (Optional): If there are areas with particularly deep or stubborn rust that manual scrubbing won’t remove, consider applying a rust remover gel. Follow the product instructions, typically applying the gel, letting it sit, and then rinsing it off. Ensure the area is completely dry afterward.
- Smooth the Surface: Once loose rust is gone, sand the entire metal surface with medium-grit sandpaper (e.g., 120-180 grit). This smooths out rough spots and creates a profile for the primer to adhere to. If you removed a lot of paint, feather the edges where old paint meets bare metal for a seamless transition. Finish with a finer grit (e.g., 220-320 grit) for an even smoother base, especially if you’re aiming for a high-gloss finish.
- Final Wipe Down and Dry: After sanding, wipe down the cooler body with a clean, damp cloth to remove all dust and sanding residue. Allow it to air dry completely. Any moisture left on the surface can cause paint adhesion issues.
- Mask Off Areas: Use painter’s tape to carefully mask off any areas you don’t want to paint, such as decals, nameplates, control panels, or exposed wiring. Cover the inside of the air cooler, especially the water reservoir, with plastic sheeting or newspaper to prevent overspray if you’re only painting the exterior.
|
Our Picks for the Best Air cooler in 2026
As an Amazon Associate I earn from qualifying purchases.
|
||
| Num | Product | Action |
|---|---|---|
| 1 | DREO Tower Fan for Bedroom, 43" Cooling Fans That Blow Cold Air 2026 Upgraded, Evaporative Air Cooler, Quiet 80° Oscillating Floor Fan, Easy Cleaning, APP Control, 4 Modes & 4 Speeds, 12H Timer, Black |

|
| 2 | Evaporative Air Cooler - Swamp Cooler with 3L Water Tank, 3 Modes & 3 Speeds, Remote Control, 12H Timer, 50° Oscillating Portable Bladeless Cooling Tower Fan For Room Bedroom Office Mother's Day |
|
| 3 | DREO Tower Fan for Bedroom, 2026 Upgraded DC Motor, 28ft/s High Velocity, 20dB Ultra Quiet Standing Fan, 8 Speeds 4 Modes, 90° Oscillating Bladeless Fan for Indoors, Floor Fans with Remote, Black |
|
| 4 | DREO Evaporative Air Swamp Cooler, 43" Cooling Fans that Blow Cold Air 2026 Upgraded, 80° Oscillating Floor Fan for Bedroom, Easy Cleaning, APP Control, Ice Packs, 4 Speeds & 4 Modes, 12H Timer, White |
|
| 5 | Portable Air Conditioners, 3-IN-1 Evaporative Air Cooler,Cooling Fans that Blow Cold Air with 60° Oscillation,9H Timer,3 Modes & 12 Speeds, 8 Ice Packs, Windowless Portable AC for Room,Bedroom,Office |
|
| 6 | LEVOIT Tower Fan for Bedroom, 90° Oscillating Standing Fan with 28dB Quiet for Sleep, 25ft/s Velocity, 12H Timer, 5 Speeds 4 Modes, Remoter, Bladeless Room Fan for Home, Office, Indoor, 36 inch, White |
|
| 7 | Portable Air Conditioners, Swamp Cooler Portable AC Unit for Room, Windowless Cooling Fan That Blow Cold Air w/Remote 5L Tank 12 Speeds 9H Timer, Evaporative Air Cooler for Bedroom Garage (White) |
|
| 8 | Arctic Air Pure Chill 2.0 Evaporative Air Cooler by Ontel - Powerful, Quiet, Lightweight and Portable Space Cooler with Hydro-Chill Technology For Bedroom, Office, Living Room & More,Blue |
|
| 9 | Midea 5,000 BTU EasyCool Small Window Air Conditioner - Cool up to 150 Sq. Ft. with Easy-to-Use Mechanical Controls and Reusable Filter, Perfect for Small Bedroom, Living Room, Home Office |
|
| 10 | 3-in-1 Portable Evaporative Air Cooler - 2000 CFM Swamp Cooler with 6.6-Gal Dual Tank & 4 Ice Packs, Remote Control, 12H Timer, Oscillating Cooling Fan for Large Room, Office, Mother's Day |
|
2. Prime for Protection: The Rust-Stopping Barrier
The right primer is your air cooler’s best defense against future rust.
- Apply Rust-Inhibiting or Rust-Converting Primer: Choose a high-quality primer specifically designed for metal and rusted surfaces. Rust-inhibiting primers create a protective barrier, while rust-converting primers chemically transform surface rust into an inert, paintable substance.
- Thin, Even Coats: Apply the primer in thin, even coats. If using spray primer, hold the can about 8-12 inches from the surface and use a steady, sweeping motion. Over-applying can lead to drips and an uneven finish.
- Drying Time: Allow each coat of primer to dry thoroughly according to the manufacturer’s instructions before applying the next coat. Usually, two coats are recommended for optimal protection.
3. Apply Your Chosen Paint: The Color and Finish
Now for the rewarding part: adding color!
- Choose Appropriate Paint: Select a durable exterior metal paint. Oil-based paints are known for their resilience on outdoor metal. Many all-in-one paint-and-primer products can also work well if your surface prep was thorough. For the exterior, consider a paint with UV protection to resist fading. For the interior water pan, if you need to paint it, a specialized rust-resistant enamel or a rubberized coating may offer better long-term durability against constant water exposure.
- Apply Thin, Even Coats: Just like with the primer, apply the paint in thin, even layers. Spray paint generally provides the smoothest finish for metal surfaces. Avoid heavy coats to prevent runs and drips.
- Light Sanding Between Coats (Optional): For an exceptionally smooth, professional finish, you can very lightly sand with a fine-grit sandpaper (400-600 grit) between paint coats after they have dried. This helps remove any minor imperfections and improves adhesion for subsequent layers. Wipe off dust before reapplying.
- Multiple Coats: Apply two to three coats of paint, allowing adequate drying time between each coat as per the product’s recommendations.
4. Seal and Protect: Enhance Durability (Optional but Recommended)
For maximum durability and a polished look, consider these final steps.
- Apply a Clear Protective Topcoat: Once your final paint coat has fully dried and cured (this might take 24-48 hours), you can apply a clear protective topcoat. This adds an extra layer of defense against scratches, UV rays, and weather, while also deepening the color and enhancing the sheen. Apply in thin, even coats, following the manufacturer’s instructions.
- Consider Rubberized Coating for the Water Pan: If your air cooler’s water pan has shown signs of significant rust or potential leaks, applying a liquid rubberized sealant or a specialized waterproof patch tape can provide excellent long-term protection against corrosion and water damage. This is especially beneficial for the continuously wet environment of an air cooler’s pan.
Tips for a Flawless Finish
Achieving a professional-looking finish requires attention to detail and patience.
- Work in a Well-Ventilated Area: Always ensure good airflow to disperse fumes, especially when using spray paints or oil-based products. Outdoors on a calm day is ideal.
- Temperature and Humidity: Avoid painting in direct sunlight, extremely hot, cold, or humid conditions. These factors can affect paint drying times and adhesion. Optimal conditions are typically moderate temperatures with low humidity.
- Maintain Proper Distance for Spray Paint: Holding the spray can too close will result in drips, while holding it too far will lead to a grainy, uneven finish. Practice on a piece of cardboard first to get a feel for the distance and speed.
- Patience is a Virtue: Rushing the drying process between coats or before full curing can compromise the paint’s durability and finish. Always follow the manufacturer’s recommended drying and curing times.
- Remove Tape Carefully: Once the final coat is dry to the touch, carefully remove painter’s tape to prevent the paint from peeling along with it.
Maintenance to Prevent Future Rust
A fresh paint job is a new beginning. To keep your air cooler looking great and prevent rust from returning:
- Regular Cleaning: Periodically wipe down the exterior of your air cooler to remove dust and dirt, especially before storing it.
- Address Chips Promptly: If you notice any chips or scratches in the paint, touch them up quickly with leftover paint or a paint pen to prevent rust from forming in the exposed metal.
- Proper Storage: When the cooling season ends, clean and dry your air cooler thoroughly before storing it in a dry, covered area. This protects it from winter elements and moisture accumulation.
Conclusion
Painting a rusted metal air cooler is a rewarding DIY project that can significantly extend the life and aesthetic appeal of your appliance. By carefully following the steps for preparation, priming, painting, and protecting, you can achieve a durable, attractive finish that withstands the rigors of outdoor use. This process not only saves you money but also gives you the satisfaction of transforming a worn-out item into a refreshed asset for your home. With the right tools and a little patience, your revitalized air cooler will be ready to keep you cool for many more seasons to come. What color will you choose to breathe new life into your air cooler?
Frequently Asked Questions
Can I paint directly over rust without removing it?
While some direct-to-rust paints claim this is possible, it is generally recommended to remove all loose, flaky rust and clean the surface thoroughly before painting. For stable, surface rust, a rust-converting or rust-inhibiting primer is crucial to prevent the rust from spreading and bleeding through your new paint.
What kind of paint is best for outdoor metal appliances like an air cooler?
For outdoor metal, an oil-based (alkyd) paint or a specialized exterior metal paint is ideal. These paints offer excellent durability, weather resistance, and adhesion. Many brands also offer all-in-one paint-and-primer formulas suitable for metal.
How do I prepare the metal surface to ensure the paint adheres well?
Preparation is key! Start by cleaning the surface with degreaser, then use a wire brush or sandpaper to remove all loose rust and peeling paint. Sand the entire surface to create a smooth, etched profile for the primer to grip. Finally, wipe away all dust and ensure the surface is completely dry.
How many coats of paint should I apply?
Typically, two coats of primer followed by two to three thin, even coats of paint are recommended for optimal coverage, durability, and a smooth finish. Always allow sufficient drying time between each coat as per the product manufacturer’s instructions.
What safety precautions should I take when painting?
Always work in a well-ventilated area, ideally outdoors on a calm day. Wear protective gear including gloves, eye protection (safety glasses), and a respirator or dust mask to avoid inhaling paint fumes and dust particles.